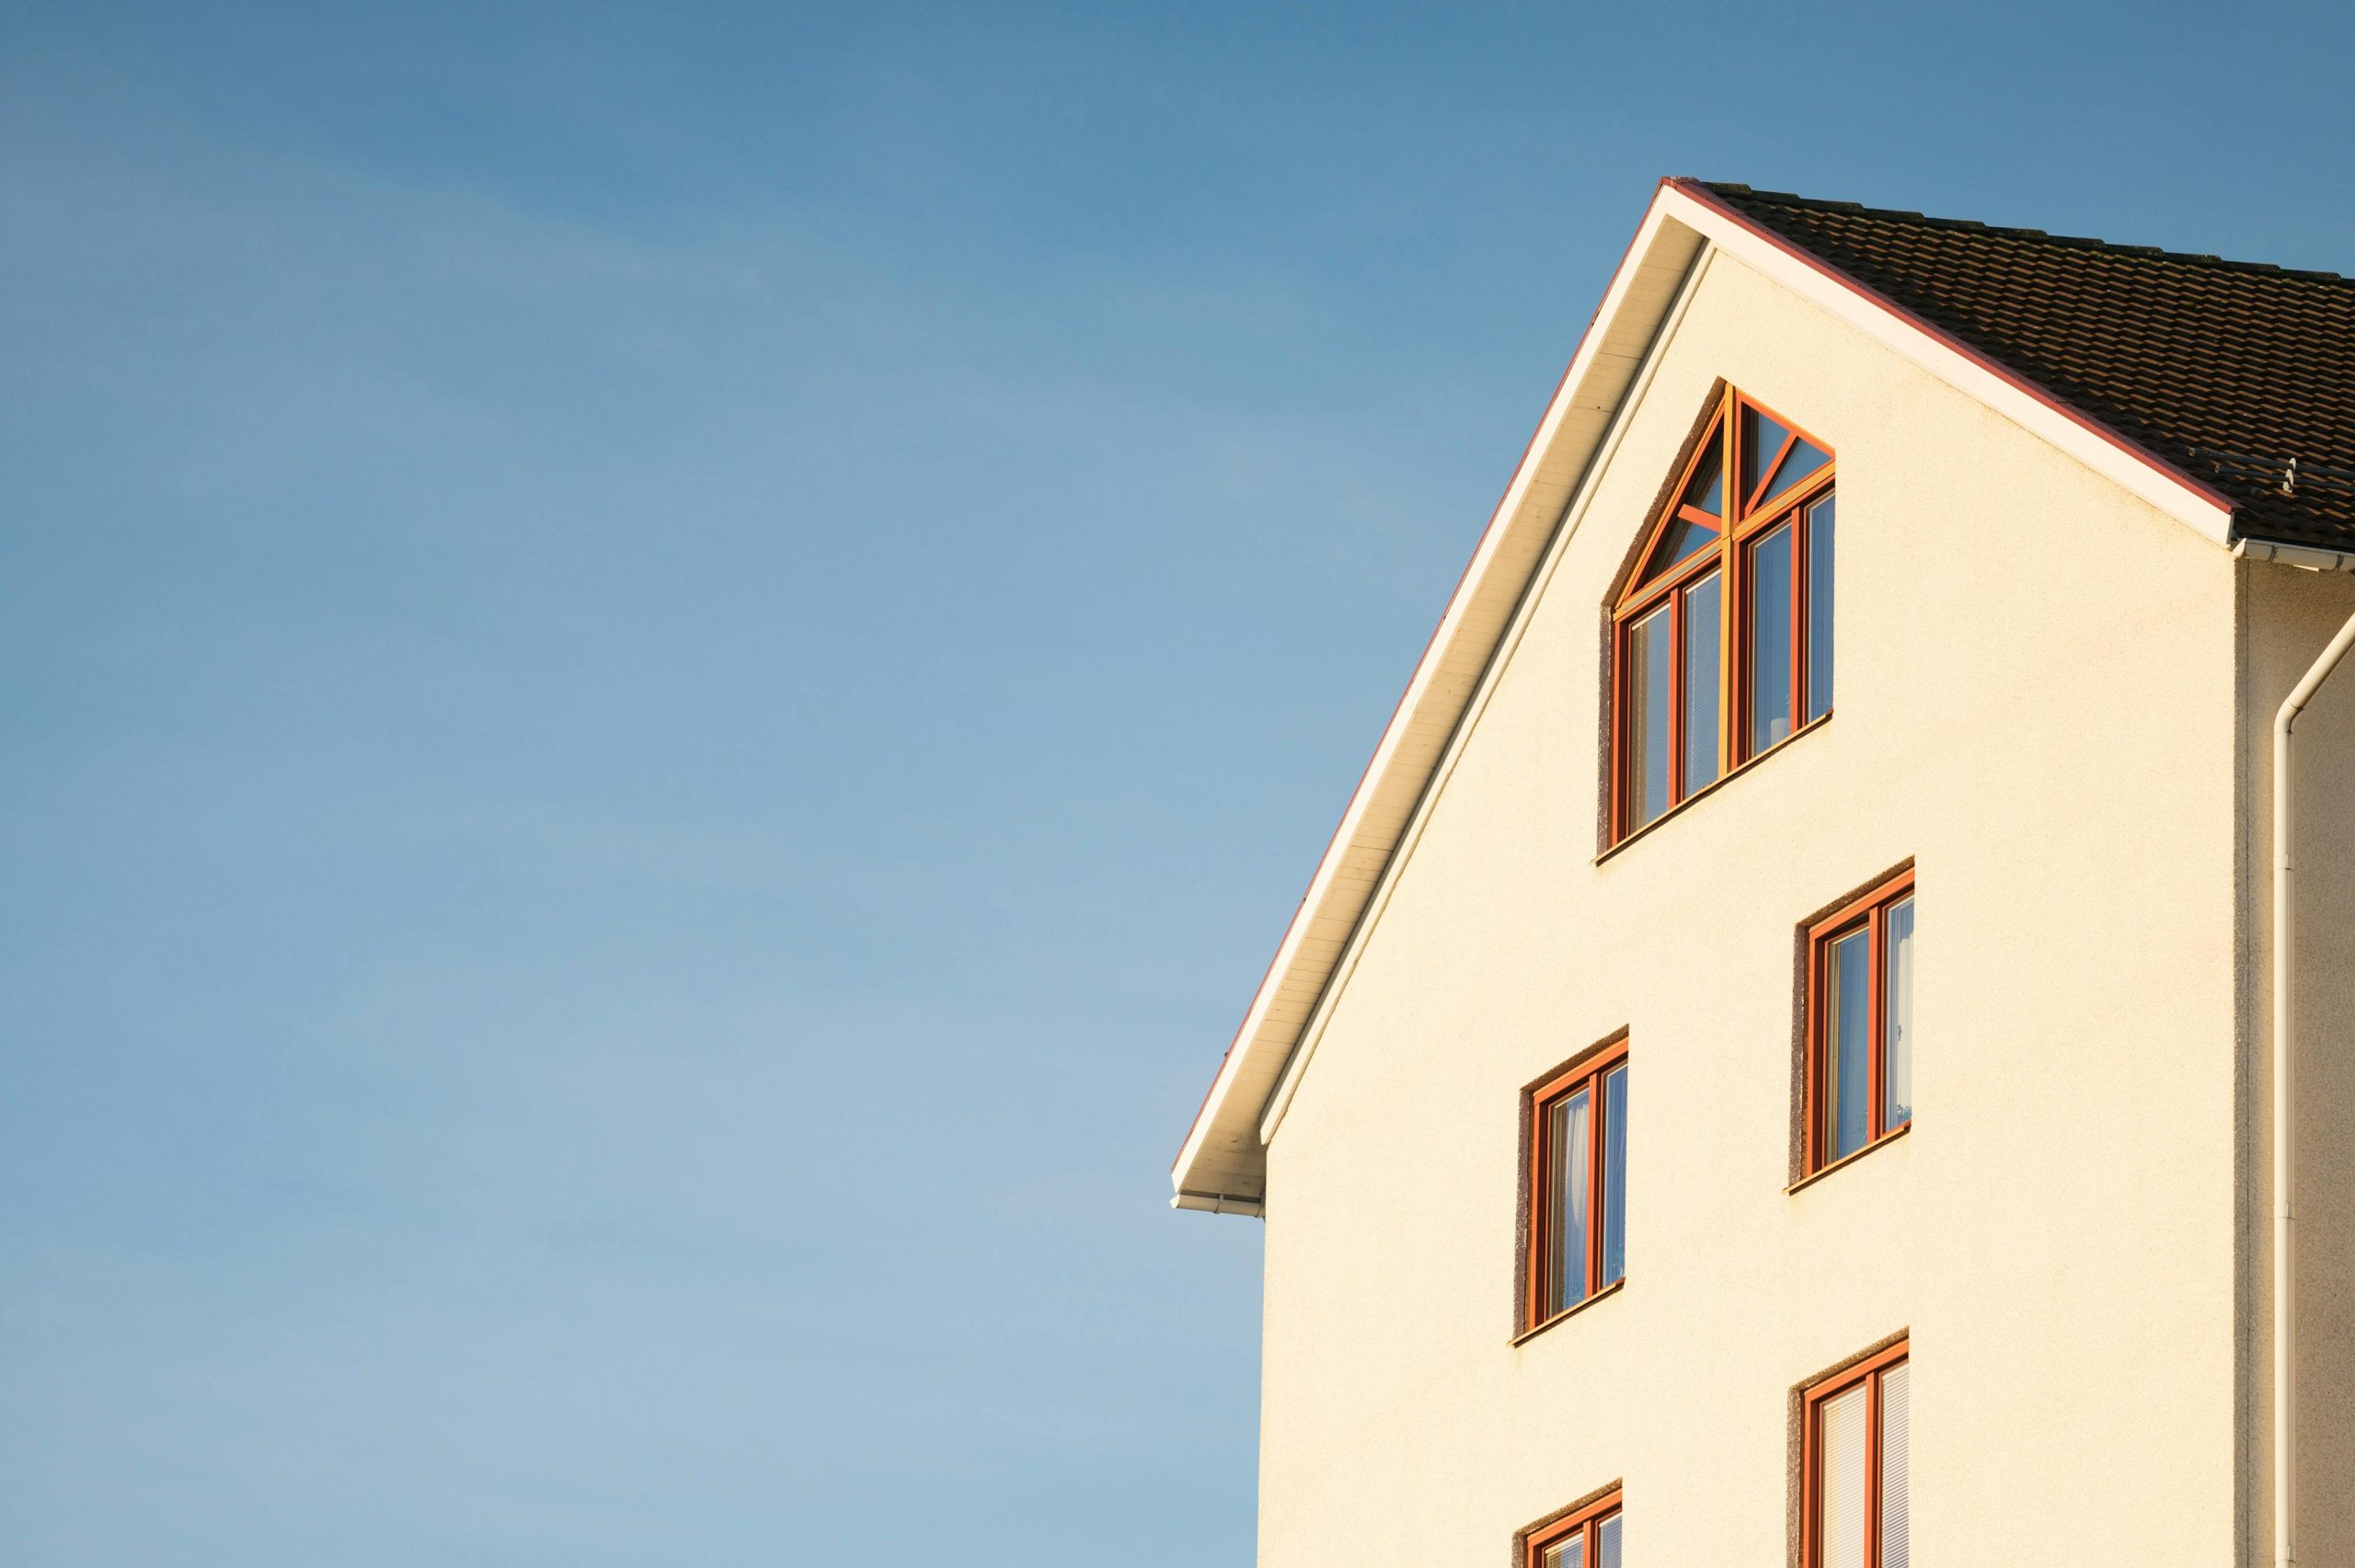

- Exterior wall insulation wraps your home’s exterior, reducing heat loss, minimizing thermal bridging, and protecting walls from moisture, wind, and UV damage.
- Proper wall preparation—including cleaning, repairing, priming, and planning for penetrations—is critical for insulation performance and longevity.
- Insulation boards should be installed in a staggered pattern, secured with adhesive and mechanical fixings, and leveled carefully to ensure stability.
- Reinforcement layers, including fiberglass mesh and corner/reveal beads, prevent cracking and strengthen vulnerable areas around windows, doors, and edges.
- Finishing layers, such as stucco, synthetic render, siding, or stone/brick veneer, provide weatherproofing, durability, and aesthetic appeal while protecting the insulation.
- Attention to windows, doors, and openings—using sealants, flashing, and custom-cut boards—ensures a fully insulated, airtight, and weatherproof envelope.
- Regular maintenance, including inspections, cleaning, seal checks, and professional evaluations, preserves performance, energy efficiency, and the lifespan of the system.
Adding exterior wall insulation is one of the most effective ways to improve your home’s energy efficiency, comfort, and durability. While the concept sounds straightforward, proper installation is key to ensuring that your investment pays off. This guide breaks down the process step by step, providing practical tips for homeowners looking to take on exterior wall insulation projects, whether DIY or with professional support.
What is Exterior Wall Insulation and Why Does It Matter?
Exterior insulation is a layer of insulating material applied to the outside of your home’s walls. Unlike interior insulation, which sits within your wall cavities, exterior insulation wraps the entire building envelope. This method helps:
- Reduce heat loss in winter and heat gain in summer
- Minimize thermal bridging through structural elements
- Protect walls from moisture, wind, and UV exposure
- Improve indoor comfort and energy efficiency
For homeowners, exterior wall insulation is more than a way to save on energy bills—it also protects your property, extends the life of exterior walls, and can enhance your home’s appearance when combined with a finishing layer.
Do You Need Professional Help or Can You DIY?
The answer depends on your comfort level, the size of your home, and the complexity of the insulation system. Consider these points:
- DIY feasibility: Smaller projects or sections of a wall can be tackled by experienced DIYers.
- Professional installation: Large-scale insulation, especially for multi-story homes, is usually best handled by professionals. They ensure proper adhesion, waterproofing, and compliance with local building codes.
- Safety considerations: Working on scaffolding or ladders can be risky, so proper precautions are essential.
Even if you hire professionals, understanding the installation process helps you make informed decisions and ensures your project meets your expectations.
What Materials Are Used for Exterior Wall Insulation?
The choice of material affects performance, durability, and cost. Common options include:
- Expanded Polystyrene (EPS): Lightweight, easy to cut, cost-effective, moderate insulation performance.
- Extruded Polystyrene (XPS): Denser than EPS, moisture-resistant, ideal for humid climates, slightly higher cost.
- Mineral Wool (Rock or Slag Wool): Excellent fire resistance, soundproofing, durable, water-repellent if properly sealed.
- Polyurethane (PUR/PIR): High thermal performance per inch, lightweight, durable, premium option.
- Natural Materials (cork, wood fiber, hemp boards): Sustainable, eco-friendly, moderate insulation performance, may require careful maintenance.
Selecting the right material depends on your climate, budget, and project goals. Combining insulation with a proper finishing layer like stucco, siding, or stone veneer completes the system.
How to Prepare Your Walls Before Installation
Proper wall preparation is critical for a successful exterior wall insulation project. A well-prepared surface ensures the insulation adheres properly, performs efficiently, and lasts for years. Here’s a more detailed approach:
- Clean and inspect the wall: Remove dirt, dust, loose paint, or debris that could interfere with adhesion. For textured surfaces like pebble dash, check the integrity of the finish—any weak or crumbling areas should be removed or repaired.
- Repair damage: Fill cracks, patch holes, and smooth uneven areas to create a solid base for insulation boards.
- Apply a primer: Priming stabilizes the wall surface and improves adhesion of the insulation system. This step is especially important for older walls or surfaces with variable texture.
- Check for moisture: Ensure walls are completely dry and free from leaks before starting. Moisture issues should be addressed to prevent long-term problems.
- Plan for penetrations: Mark locations of outlets, pipes, and other fixtures so insulation boards can be cut and fitted precisely around them.
- Protect surrounding areas: Lay down coverings or tape off nearby surfaces to prevent damage or mess during installation.
Step 1: Fixing the Insulation Boards
Attaching the insulation boards is the first major step in the process. Proper placement ensures stability and long-term performance:
- Attach a starter track: Install the track just above the damp-proof course to align the first row of boards.
- Apply adhesive strategically: Use a perimeter band around the edges of each board and several dabs in the center to secure it to the wall.
- Install in a staggered pattern: Like brickwork, this reduces weak points and increases the stability of the system.
- Use a level: Ensure each board is perfectly straight and aligned. Slight gaps may be left for expansion if recommended by the manufacturer.
- Secure with mechanical fixings: Drill holes and insert metal fasteners to hold the boards firmly. Thermo-dowel caps can help reduce cold bridging where the fixings penetrate the insulation.
Properly installed boards form a solid foundation for the reinforcement and finishing layers.
Step 2: Applying the Reinforcement Layer
The reinforcement layer strengthens the insulation system and helps prevent cracking over time:
- Prepare the surface: Rasp or sand the boards so they are flat and even.
- Install corner and reveal beads: Use reinforcing beads around windows, doors, and external corners to protect vulnerable areas from impacts and create clean edges. Under-sill beads tie windowsills into the system.
- Embed fiberglass mesh: Apply a base coat adhesive across the surface, then press the mesh into the coat. Overlap each piece of mesh to ensure continuous strength.
- Smooth the surface: Float the base coat to create an even, uniform layer ready for finishing.
This layer distributes stress across the insulation, protects corners, and prevents hairline cracks.
Step 3: Applying the Finishing Layer
The finishing layer seals and protects the insulation while giving your home a polished look:
- Choose your finish: Options include traditional stucco, synthetic render, siding (vinyl, fiber cement, or wood), or brick/stone veneer.
- Apply in thin, even layers: This ensures durability and prevents cracking.
- Protect corners and edges: Proper detailing around windows, doors, and external corners improves longevity.
- Allow proper curing: Give each coat sufficient time to dry before applying subsequent layers.
- Seal and color: A final colored render or finish coats the insulation system, providing a weatherproof, flexible, and visually appealing exterior.
The combination of insulation, reinforcement, and finishing layers results in a strong, energy-efficient, and durable wall system.
How to Handle Windows, Doors, and Openings
Insulation needs to integrate with your home’s windows, doors, and other openings:
- Install backer rods and sealants: Fill gaps to prevent air leaks.
- Use flashing and trim: Diverts water away from critical areas.
- Custom cutting boards: Fit insulation around fixtures carefully to avoid gaps or thermal bridges.
Proper attention to openings ensures a fully insulated, weatherproof building envelope.
Common Mistakes to Avoid During Installation
- Skipping wall preparation: Dirty or uneven surfaces can reduce adhesion and insulation performance.
- Poor board alignment: Misaligned boards create gaps that reduce thermal efficiency.
- Neglecting reinforcement: Skipping the fiberglass mesh layer increases the risk of cracking and damage.
- Ignoring moisture barriers: Insufficient moisture protection can lead to mold or rot.
- Rushing the finish: Applying finishes too quickly can cause cracks or uneven surfaces.
Awareness of these common errors can save time, money, and frustration.
Maintenance Tips After Installation
Exterior wall insulation requires minimal maintenance but a few steps help preserve its performance:
- Inspect the finish annually for cracks or damage
- Clean surfaces gently to remove dirt, algae, or mildew
- Check seals around windows and doors and repair if needed
- Monitor wall-mounted fixtures and ensure they’re sealed
- Trim nearby trees or shrubs to prevent moisture buildup
- Schedule a professional inspection every few years
Regular care ensures long-term performance and energy savings.
How Much Does Exterior Wall Insulation Cost?
Costs depend on material, labor, and finishes. On average:
- Basic EPS systems: $10–$20 per square foot
- XPS or Mineral Wool systems: $15–$30 per square foot
- High-performance systems (PUR/PIR, premium finishes): $25–$50+ per square foot
While upfront costs can be higher than interior insulation, energy savings and improved home durability make it a worthwhile investment.
Benefits Beyond Energy Savings
Exterior wall insulation doesn’t just lower bills—it offers several additional advantages:
- Enhanced comfort: Stable indoor temperatures and reduced drafts
- Noise reduction: Extra layer absorbs external sound
- Wall protection: Shields against moisture, UV rays, and temperature fluctuations
- Aesthetic updates: Finishes allow you to refresh the home’s exterior
- Increased property value: Energy-efficient, well-maintained homes are more attractive to buyers
These benefits make exterior wall insulation an investment in both comfort and home value.
Frequently Asked Questions
Can I install insulation in all climates?
Yes, exterior wall insulation is effective in both hot and cold climates, but the choice of material and thickness should match local conditions.
Will it change the appearance of my home?
The finish layer gives you flexibility, so your home can look modern, traditional, or completely refreshed.
How thick should the insulation be?
Typically 2–4 inches depending on material and climate, though high-performance boards may require less.
Do I need permits?
Many areas require permits for exterior renovations. Check local building codes before starting.
Wrapping Up
Exterior wall insulation is one of the smartest upgrades homeowners can make. Proper installation ensures that your home stays comfortable, energy-efficient, and protected for decades. By following step-by-step guidance, choosing the right materials, and paying attention to details like openings and finishes, you can maximize both performance and aesthetic appeal. Whether tackling a DIY project or hiring professionals, understanding the process helps you achieve a lasting, high-quality result.